How to Quickly and Easily Mod a Cheaper Keyboard
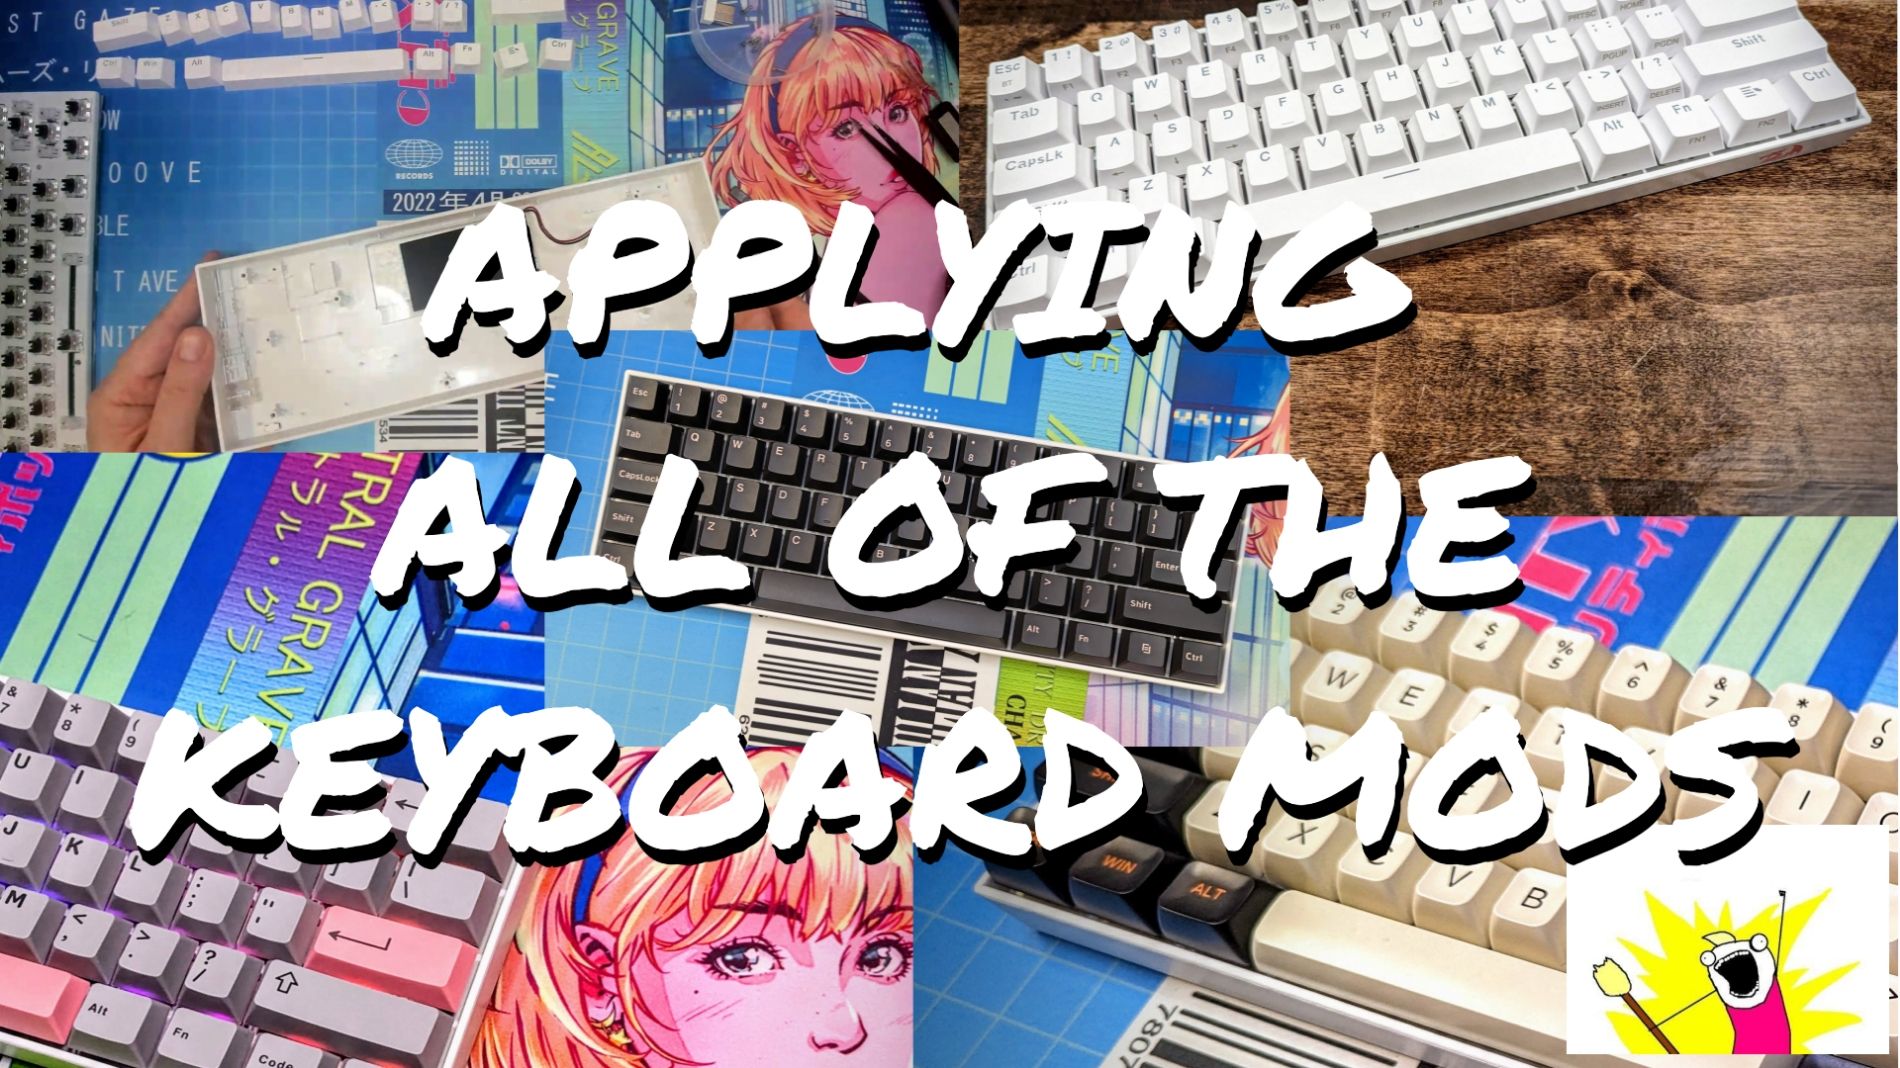
As the in-stock keyboard market gets better by the day, I keep seeing sales of keyboards I'm familiar with, sometimes at half or more off the MSRP from just last year. As such, I decided to pick one of these keyboards, the Redragon K530 Pro, a 60% three mode programmable keyboard and mod it

As the in-stock keyboard market gets better by the day, I keep seeing sales of keyboards I'm familiar with, sometimes at half or more off the MSRP from just last year. As such, I decided to pick one of these keyboards, the Redragon K530 Pro, a 60% three mode programmable keyboard that came at a time that Redragon began to pivot toward delivering better keyboards as it's one of the first models that I can recall from them that though they were odd little hot swap sockets, this keyboard fits basically any popular MX switch opening up a much wider selection than they offered in previous models, with either soldered on switches, or hot swap with Mill-Max style sockets that only worked with certain switches, and usually not the better ones. Though an exception, Gazzew switches worked and helped me turn some Eyooso boards into some well received gifts.
Taking this keyboard, I decided to go step by step, recording with a sound test after each change in order to capture, as much as possible, the change in tone and overall sound profile for each change made along the way. I then mix up switches and keycaps to further provide a range of tones that can be reached, on this keyboard with the mods I chose.
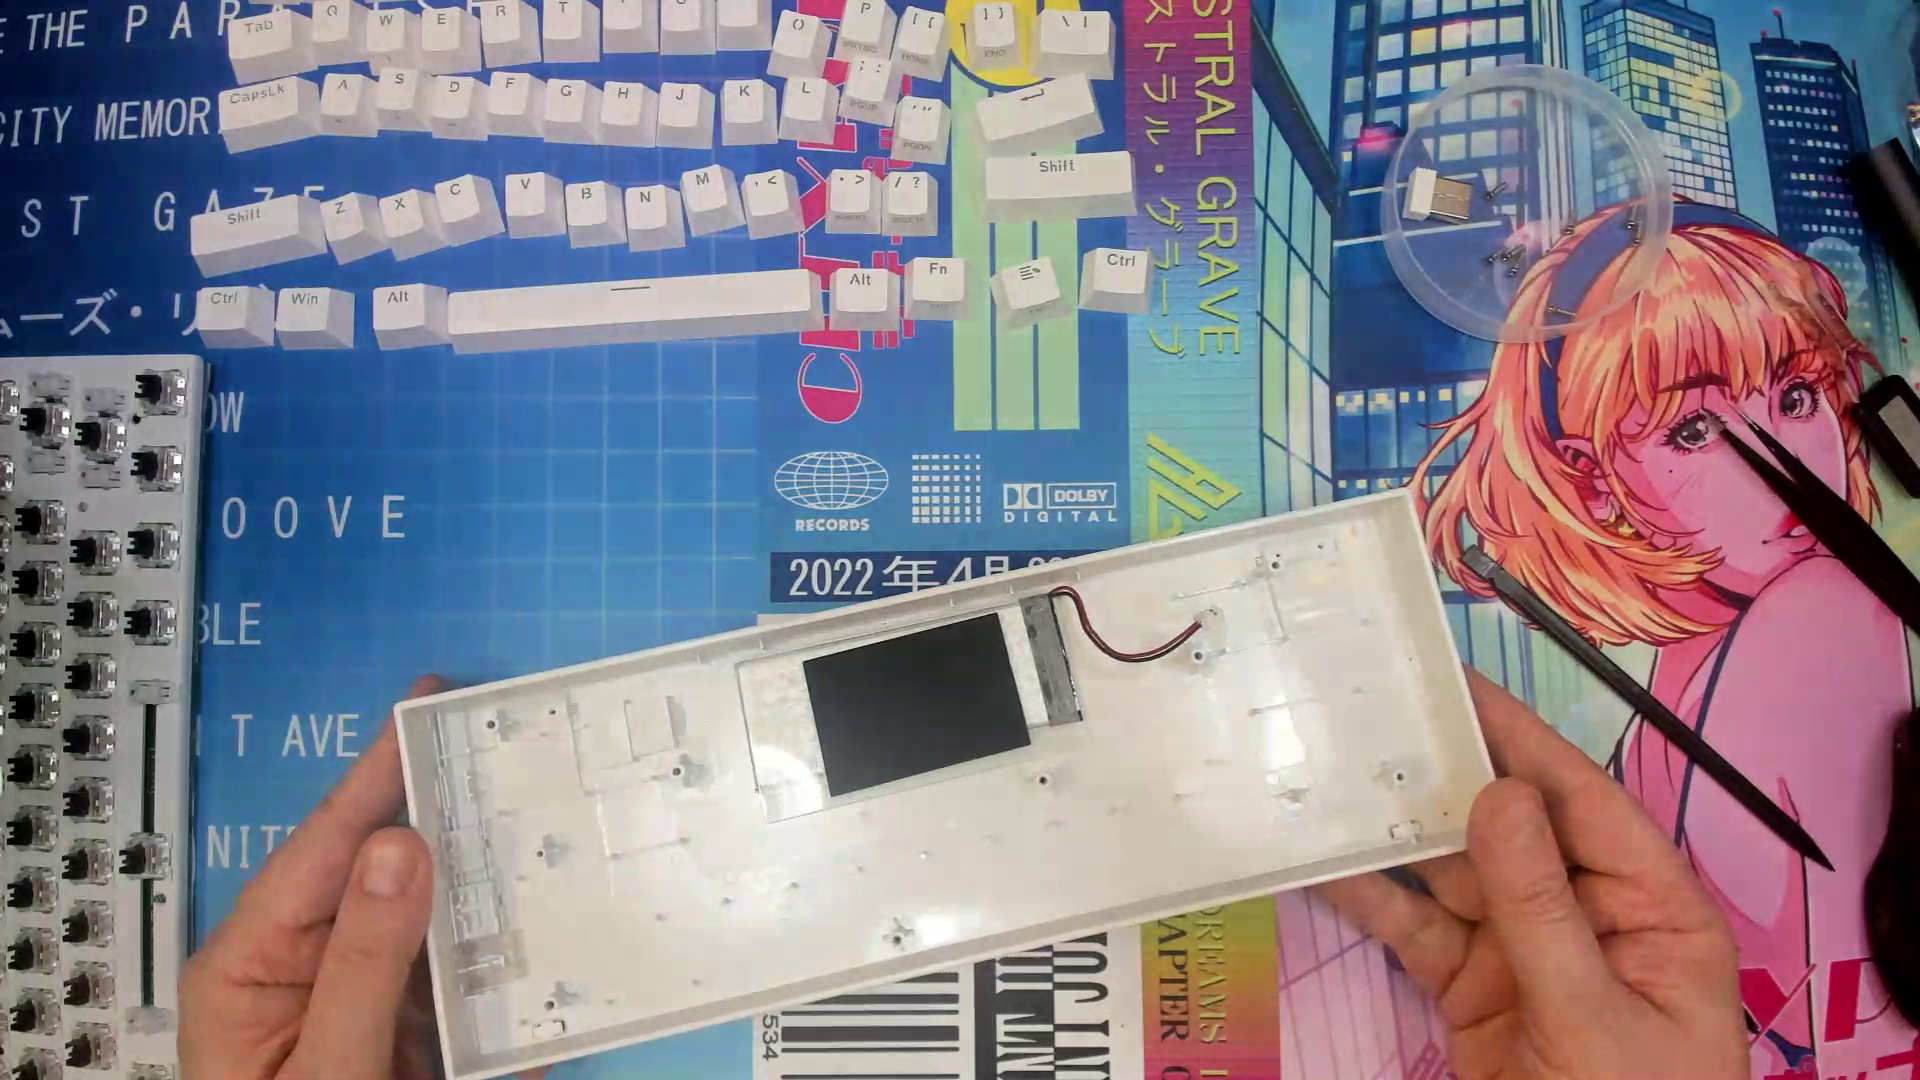
Stock, this keyboard has zero dampening, just a small "jelly" pad above the 3000 mAh battery, the PCB, the steel plate, and eight screws holding the entire thing together. And yes, the screws do go into plastic poles, but they are fairly thick and would be easy enough to melt some new metal screw inserts. I was thankfully able to avoid stripping any of them during the numerous times I opened the keyboard.

After recording a stock sound test, which includes a side of ping, I did the first and usually best first step to take on stock prebuilt keyboards, lube the switches. This Redragon was loaded with branded Brown switches that, if I had to guess, would say they were manufactured by Outemu, but I cannot say that for sure, it's just a guess. Using a homemade mix of Molykote and PAO, thanks to a friend, I use a squeeze dispenser to lube the back of the leaf spring and do a ring around the bottom outside of the spring to avoid getting any lube in the bottom housing's stem cavity. For most switches, this does the trick. I don't bother to lube the stems; if a switch is "scratchy", I actually like that, but have always noticed that that scratchiness always smooths out after a week or more of usage, I aim to rid any metallic dings and pings the stock switch might exhibit. While I was doing the switches, In figured it would be best to go ahead and do the band-aid mod the stabilizers to tighten up the tolerances as well as lubing the wires where it makes contact with the housing and stems. Once all of the switches were lubed, and the stabilizers attached, I recorded another sound test.
The difference to me is quite palatable, but more can be done.
Next up I perform the PE foam mod but using poron switch pads as opposed to PE foam. Now, PE foam still is a viable mod, but due to the different thicknesses that PE foam can come in, one is never assured that the sound could be different due to misalignment, folding, and other factors. Personally, I find that using the bigger switch pads and applying them directly to the PCB, as opposed to trying to fish them in with the plate attached, allows for the easiest application. In my opinion, switch pads allow for a uniform application which should ensure tone similarity across the PCB. After the switch pads, I performed another sound test.
Once the switches, stabilizers, and pads are in place, the next logical mod would be the Tempest Tape mod. This mod acts as a low pass filter, hopefully capturing random high pitches and keeping them out of the final sound profile. Once applied, I assembled the K530 and recorded another sound test.
While I was first planning to do a silicone pour, I felt that the space was quite limited and I would have to do come "hacking" to ensure the silicone did not dry where the switches are, so I decided to go with a simple piece of felt. Felt while being thin, should act as a damper to catch higher pitched sounds due to it's open cell structure, so for the next mod, I cut and pressed a piece of black felt into place, closed up the keyboard, and performed another sound test.
Now I was curious to hear how the keyboard would sound with stock switches and aftermarket keycaps as well as vice a versa. For the first test, I removed the stock OEM shine through keycaps and replace them with a set of ABS doubleshot Cherry Dolch keycaps with a body wall width of 1.5 mm, and here is the sound test.
Afterwards, I replaced the switches with MMD Princess tactile switches with 60 g springs, restoring the OEM keycaps and performing another sound test.
Once this was done, I wondered what they keycaps and switches would sound like together as compared to the combinations I just tried, so I replaced the OEM keycaps with the double shot Dolch keycaps and proceeded to capture another sound test.
Now, I was planning to also change the color of the case for this project but I found that my home made paint box requires some maintenance before it could safely be used again, so for cosmetic purposes, I decided to remove the Redragon logo. Using ACETONE FREE nail polish remover - acetone will warp plastic, so I feel I need to emphasize that should one want to try this, please double check that you avoid using an acetone based remover, as it's likely to ruin the plastic. Using a Q-Tip with a small amount of polish remover, I try a small corner to ensure that it will remove without issue, then soak a cotton ball in the remover using it to remove the remaining parts of the logo.
Since that was merely a cosmetic change, I was curious to hear how Gateron Milky Yellow switches would sound in this configuration, so I replaced the MMD Princess switches with Milky Yellows, keeping the Dolch keycap set then I continued to capture another sound test.
Loving how the Milky Yellows sounded on this base, I decided to see what a uniform PBT keycap set would sound like, so I loaded up a trusty set of Milk and Honey XDA dye sub PBT keycaps, and as you may have already guessed, recorded another sound test.
Enjoying the sound of the thicker and lower keycaps, I decided to contrast them with a taller and ABS(ier) set, so I chose my Carbon DS ABS SA keys to load on this prebuilt and proceeded to capture how it sounded.
Enjoying the heavy "thud" that these delivered, I was suddenly reminded of Gazzew's U4Tx switches, which I quite enjoy and find, in my opinion anyways, to be very similar in sound and feel to Topre. Not the same mind you, but the way these switches perform, do truly bring a tinge of recognition. Seeing that it was pretty deep with the Milky Yellow switches, I could only surmise that the U4Tx switches would really turn of the "crunch", so I loaded a set of them up with the same SA keys and proceeded to have a "crunch" session.
Wow, that was certainly deep and "angry", and one of my favorite sound profiles, so I may go back to it, but before ending this, there was one thing that was bugging me, I never added a plate/PCB damper. Admittedly I have been skipping this step as of late since I find that without it many keyboards can express a deeper tone, but as I am trying to share all of the different sound profiles can be affected by different mods, I decided to go ahead and add one. Lately, many even affordably priced keyboards are including both PCB/Plate foam as well as case foam, but this one had none, hence the addition of the case felt. For the plate/PCB foam, I took a sheet of adhesive neoprene, cut a piece the size of the plate, took off the backing and attached it. Once attached, I used a detail knife to cut out the spots for the key switches and stabilizers. I decided to go with a set of Milky Top Yellow switches as well as a double shot PBT Cherry set from Gliging, Dark Olivia. Once complete, I did one final sound test.
I also did a quick super cut of all of the sound tests, one after the other.
I do hope that this has helped to demonstrate how different mods, switches, and keys all come together in concert to determine the final sound the keyboard will exhibit.
Feel free to jump on our Discord server if you have any questions and I'll do my best to help.
Here is a video I made of the entire process.
Until the next transmission, Keep Calm and Keyboard On!
