
MKC75: Custom Keyboard Features, Budget Price Tag! Could This Be The Budget Aluminum Keyboard King?
The MKC75 is a highly anticipated 75% mechanical keyboard from MyKeyClub, a renowned manufacturer known for producing high-quality keyboards like the Jris65 and the Jris75. This keyboard is the first in a series of MKC models which are aimed at delivering quality custom keyboard at affordable prices, making a “premium” keyboard more readily accessible to the masses. The Pre-Order sales for this keyboard goes between August 5th and August 31st. The Pre-order page covers most questions interested parties may have and can be found here: https://www.mykeyclub.com/pages/mkc75-preorder-page
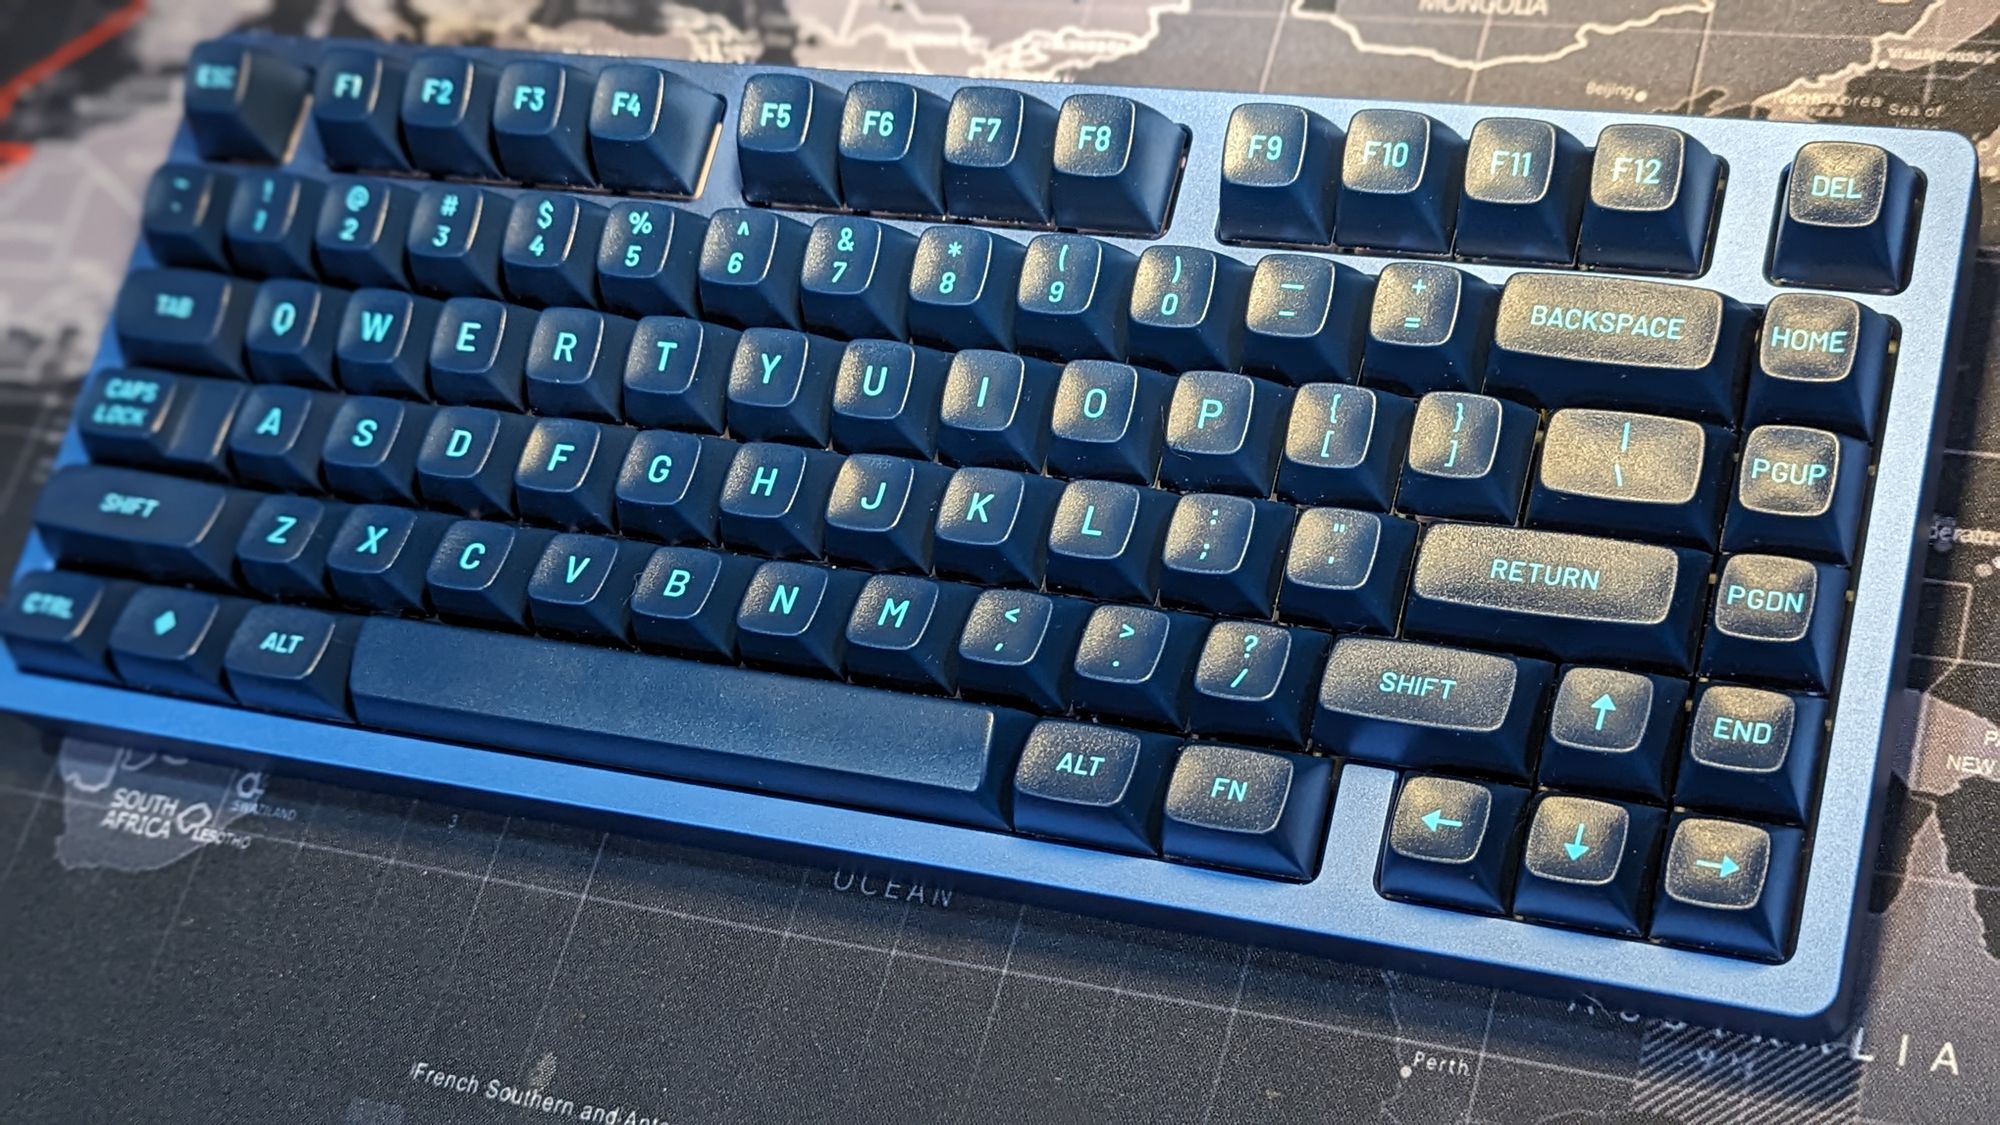
Today I build and review a prototype of this 75% keyboard kit that will be available in seventeen colors, with four option for weights, four options for plates, including half-plates, though going plateless is an option as well, as well as four PCB options; soldered, Flexcut Hotswap, Non-Flexcut Hotswap, and a Tri-Mode Hotswap. The PCB I chose, non-Flexcut Hotswap, offers the option of three different mounting styles providing for differing levels of flex to better meet the end user’s bounciness preference. There is also the option to add a Brass PVD rotary knob or an LED backed badge or sign for the top right key slot. And, as a bonus, the hot swap versions offer numerous alternate layouts, including split spacebar, split backspace, Tsangan, stepped caps lock, and ISO! And of course, QMK/VIA out of the box, for the wired model.
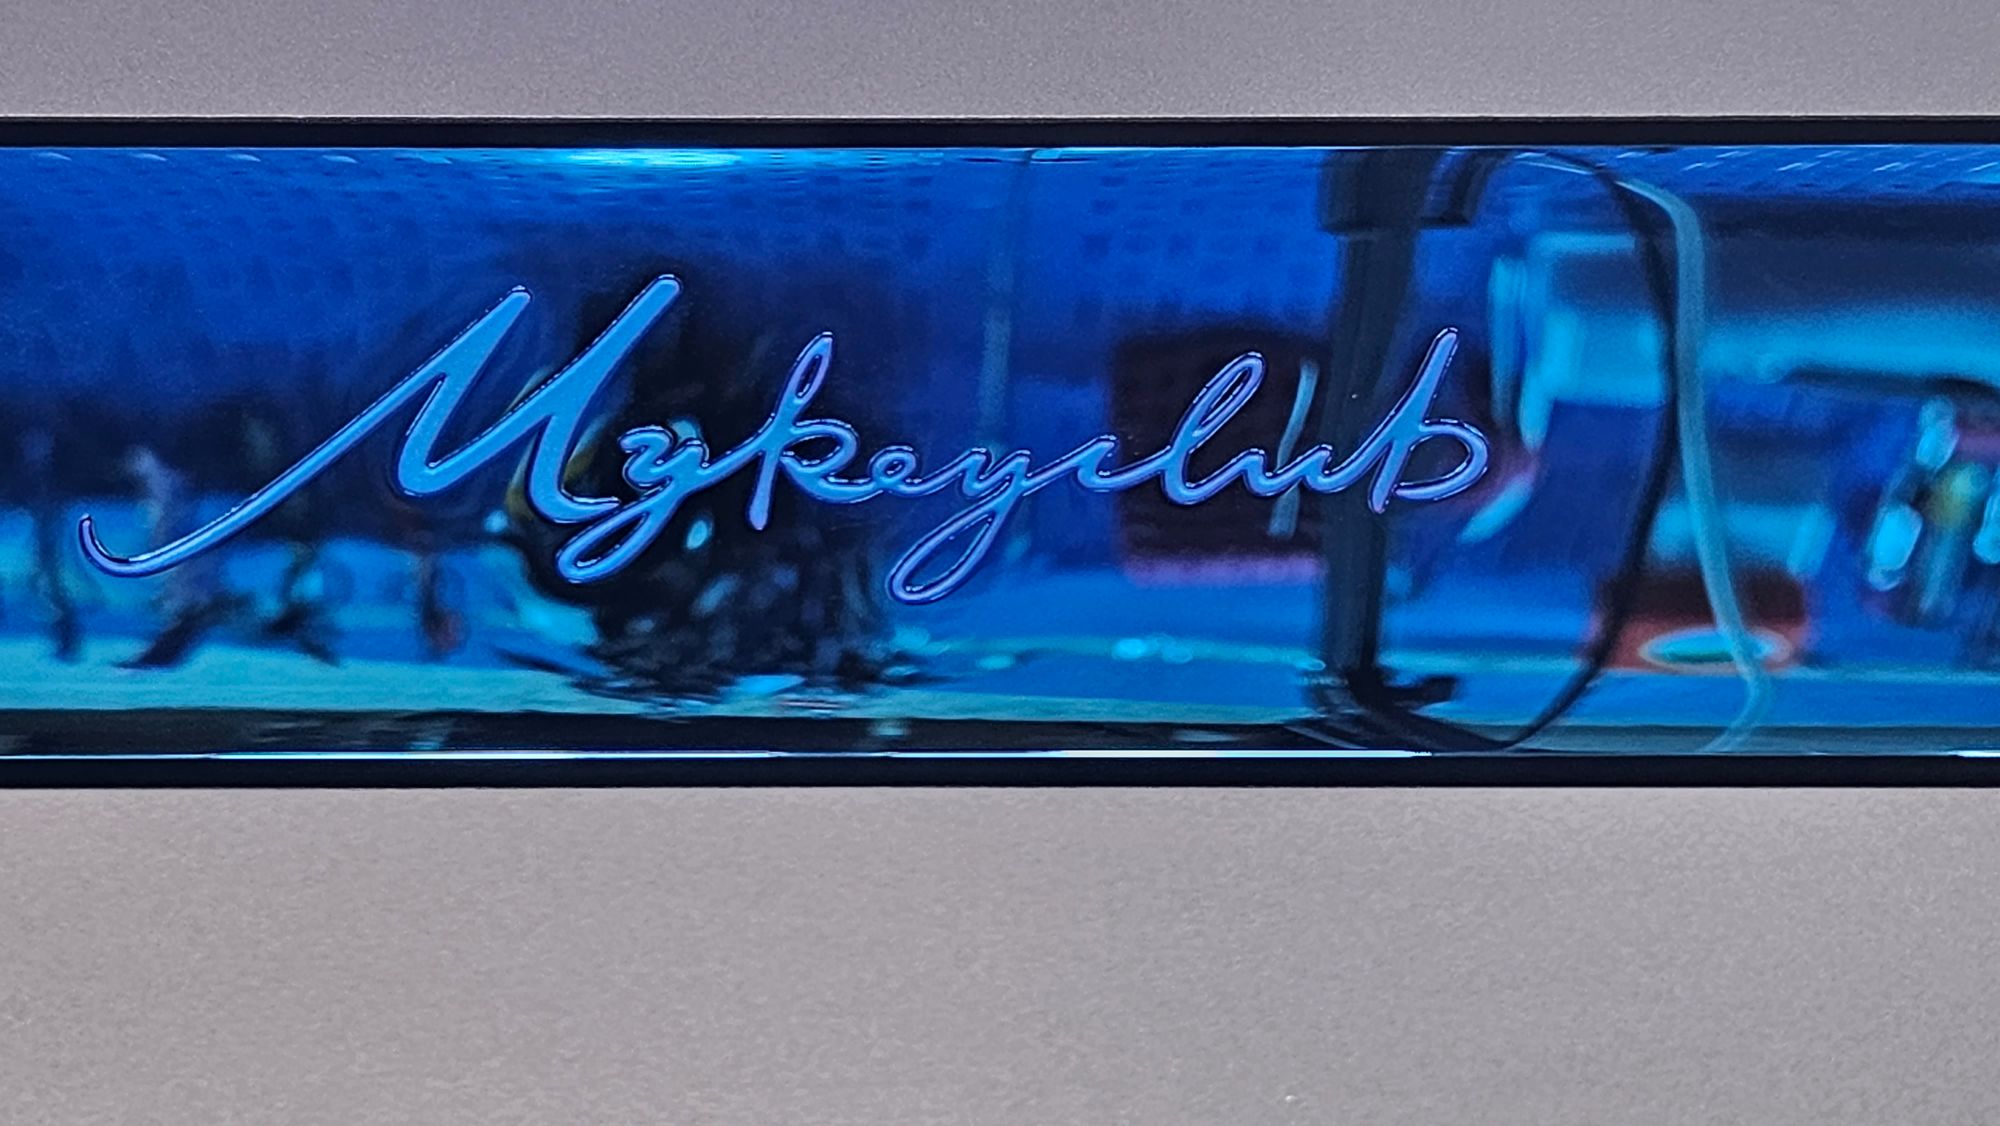
Right off the bat, I must be honest. If you would have read me these specs without context, I would immediately assume that the keyboard being described to me would start at $300 and probably go up to $500 or more depending on options, and thankfully, when speaking of the MKC75, I would be way off. This keyboard starts at $99. Yes, you heard me right, $99, and the max price for a single unit without extras, $169 and that’s for the tri-mode version with a PVD weight! Small note, the weight I have with my prototype unit includes MKC’s cursive logo, based on feedback they’ve received, the final version will be blank forgoing their logo.
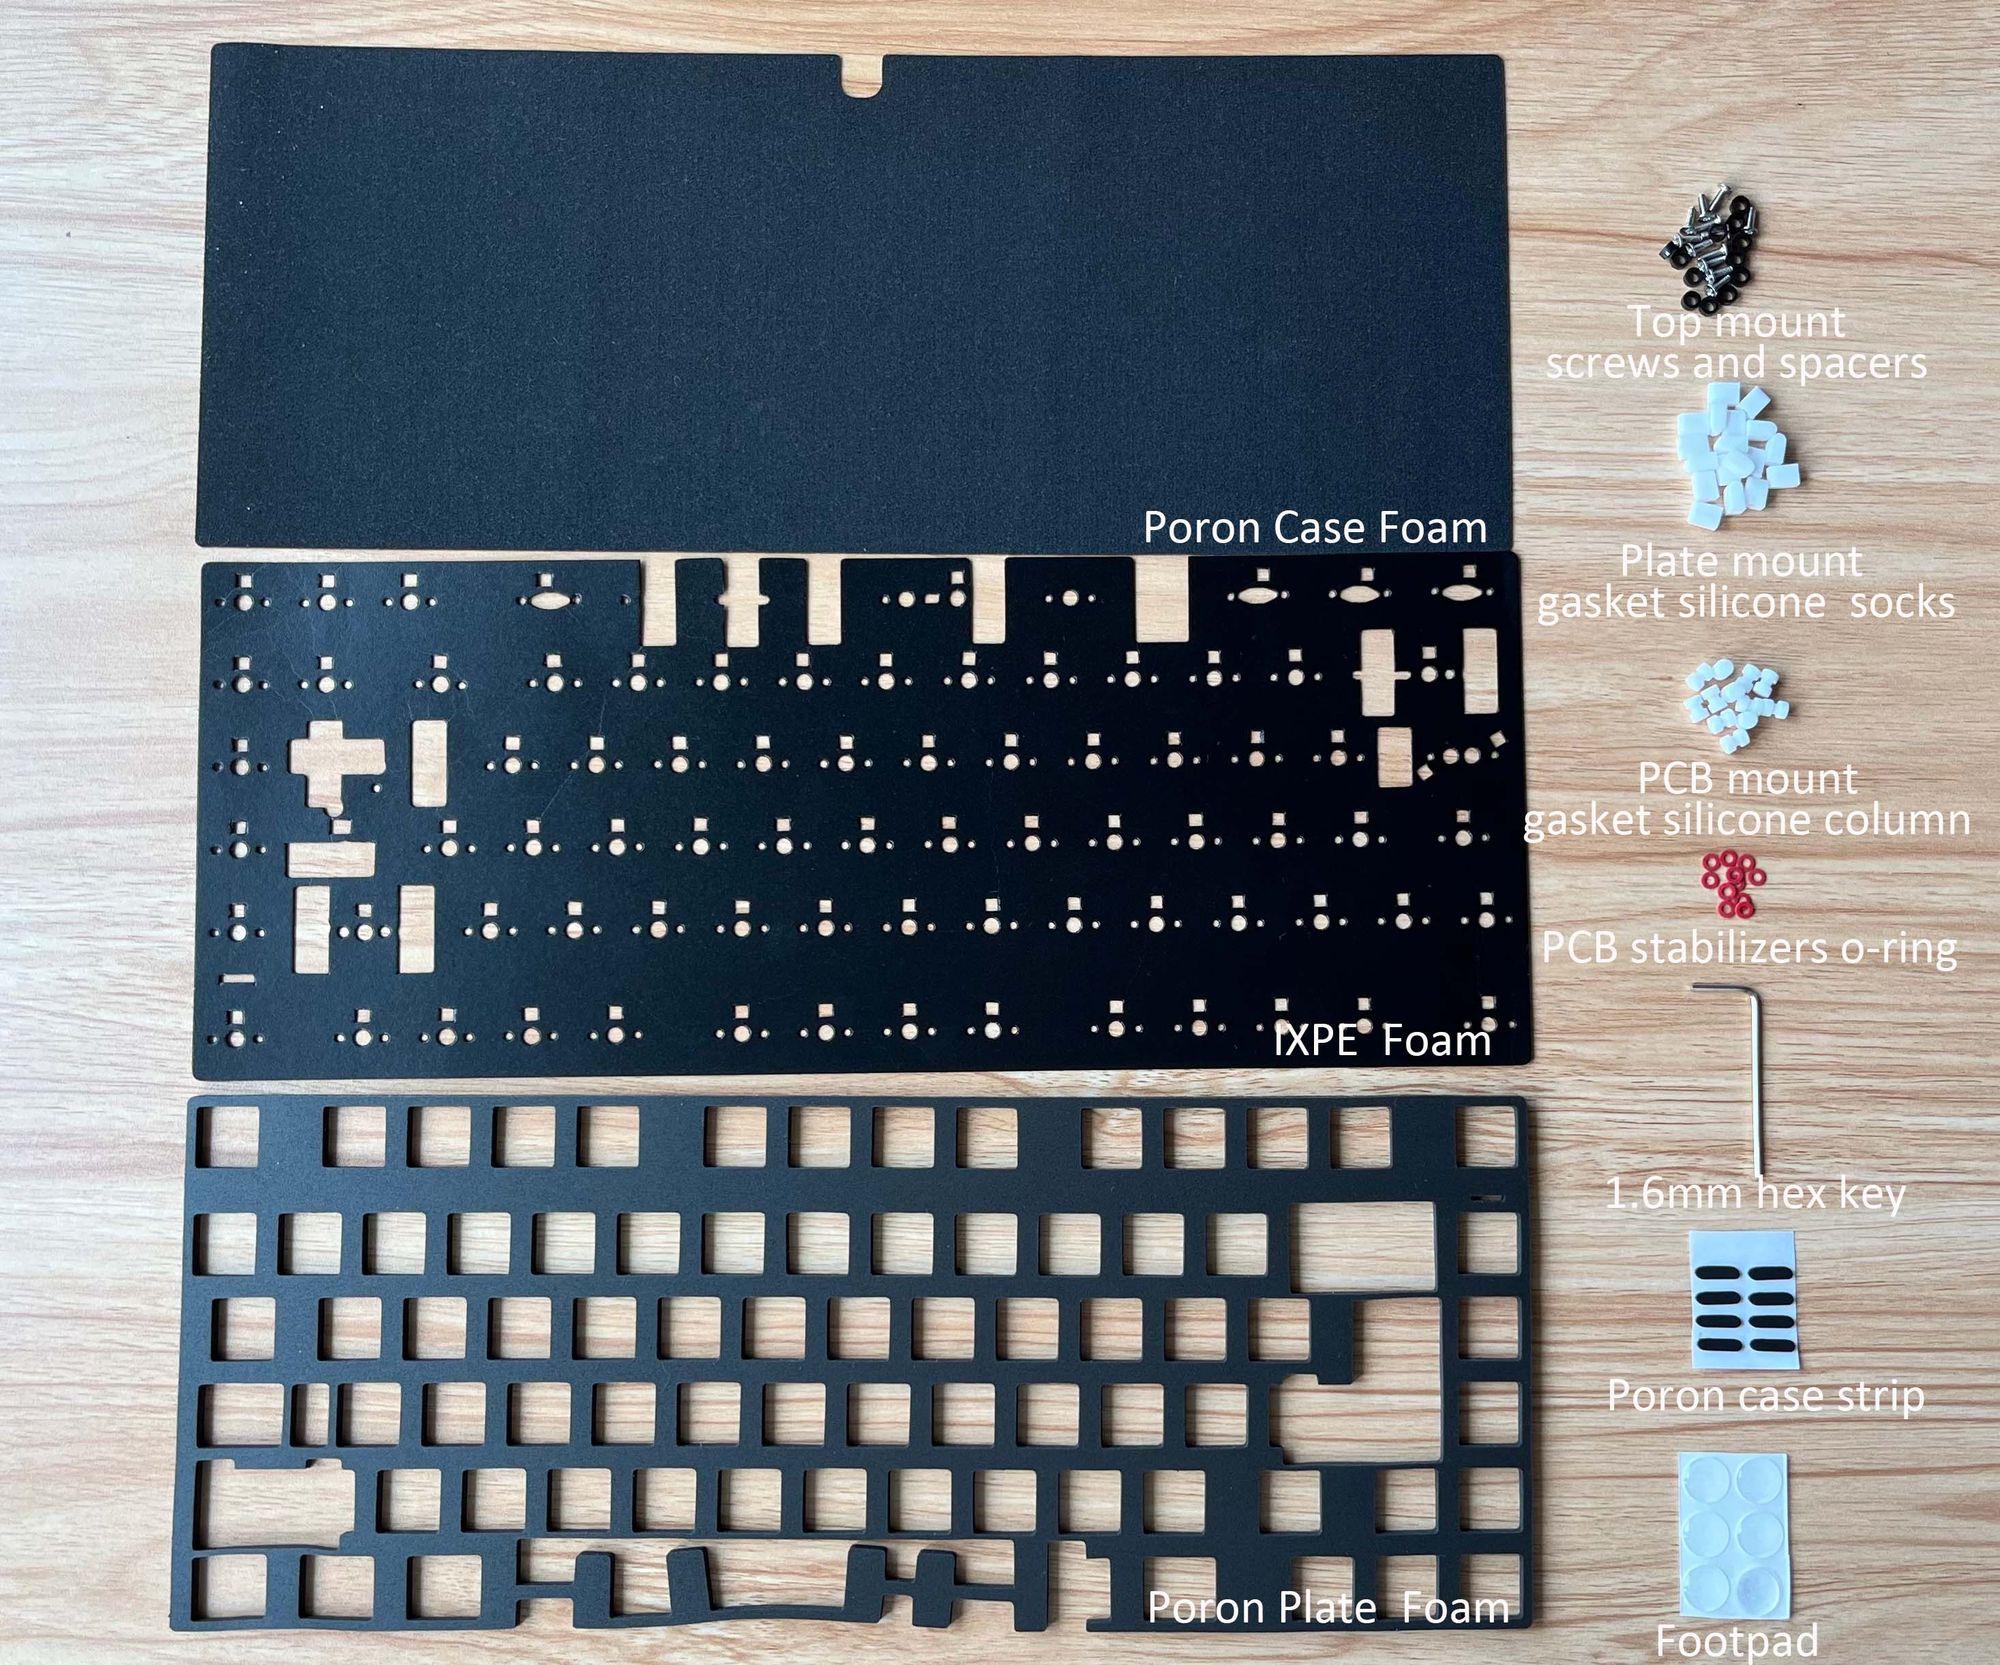
Parts included:
Full CNC Aluminum Top case *1
Full CNC Aluminum Bottom case*1
Weight (Anodized Alu Weight or Stainless steel PVD Weight) *1
Internal Alu Weight (Only for the Tri-mode Version Case) *1
Plate *1 (if selected)
PCB *1
iPXE PCB Sheet *1
Poron Case Foam *1
Poron Plate/PCB Foam *1
Type-C Daughterboard with JST Cable *1
PCB GAS Silicone Column *12
Plate GAS Silicone Sock *18
Top mount screw and spacer *12
PCB stabilizers o-ring *12
Footpad *6
Poron case strip *6
1.6mm hex key *1
Today I will be building the kit using all three mounting styles accompanied by sound tests to compare the differences.
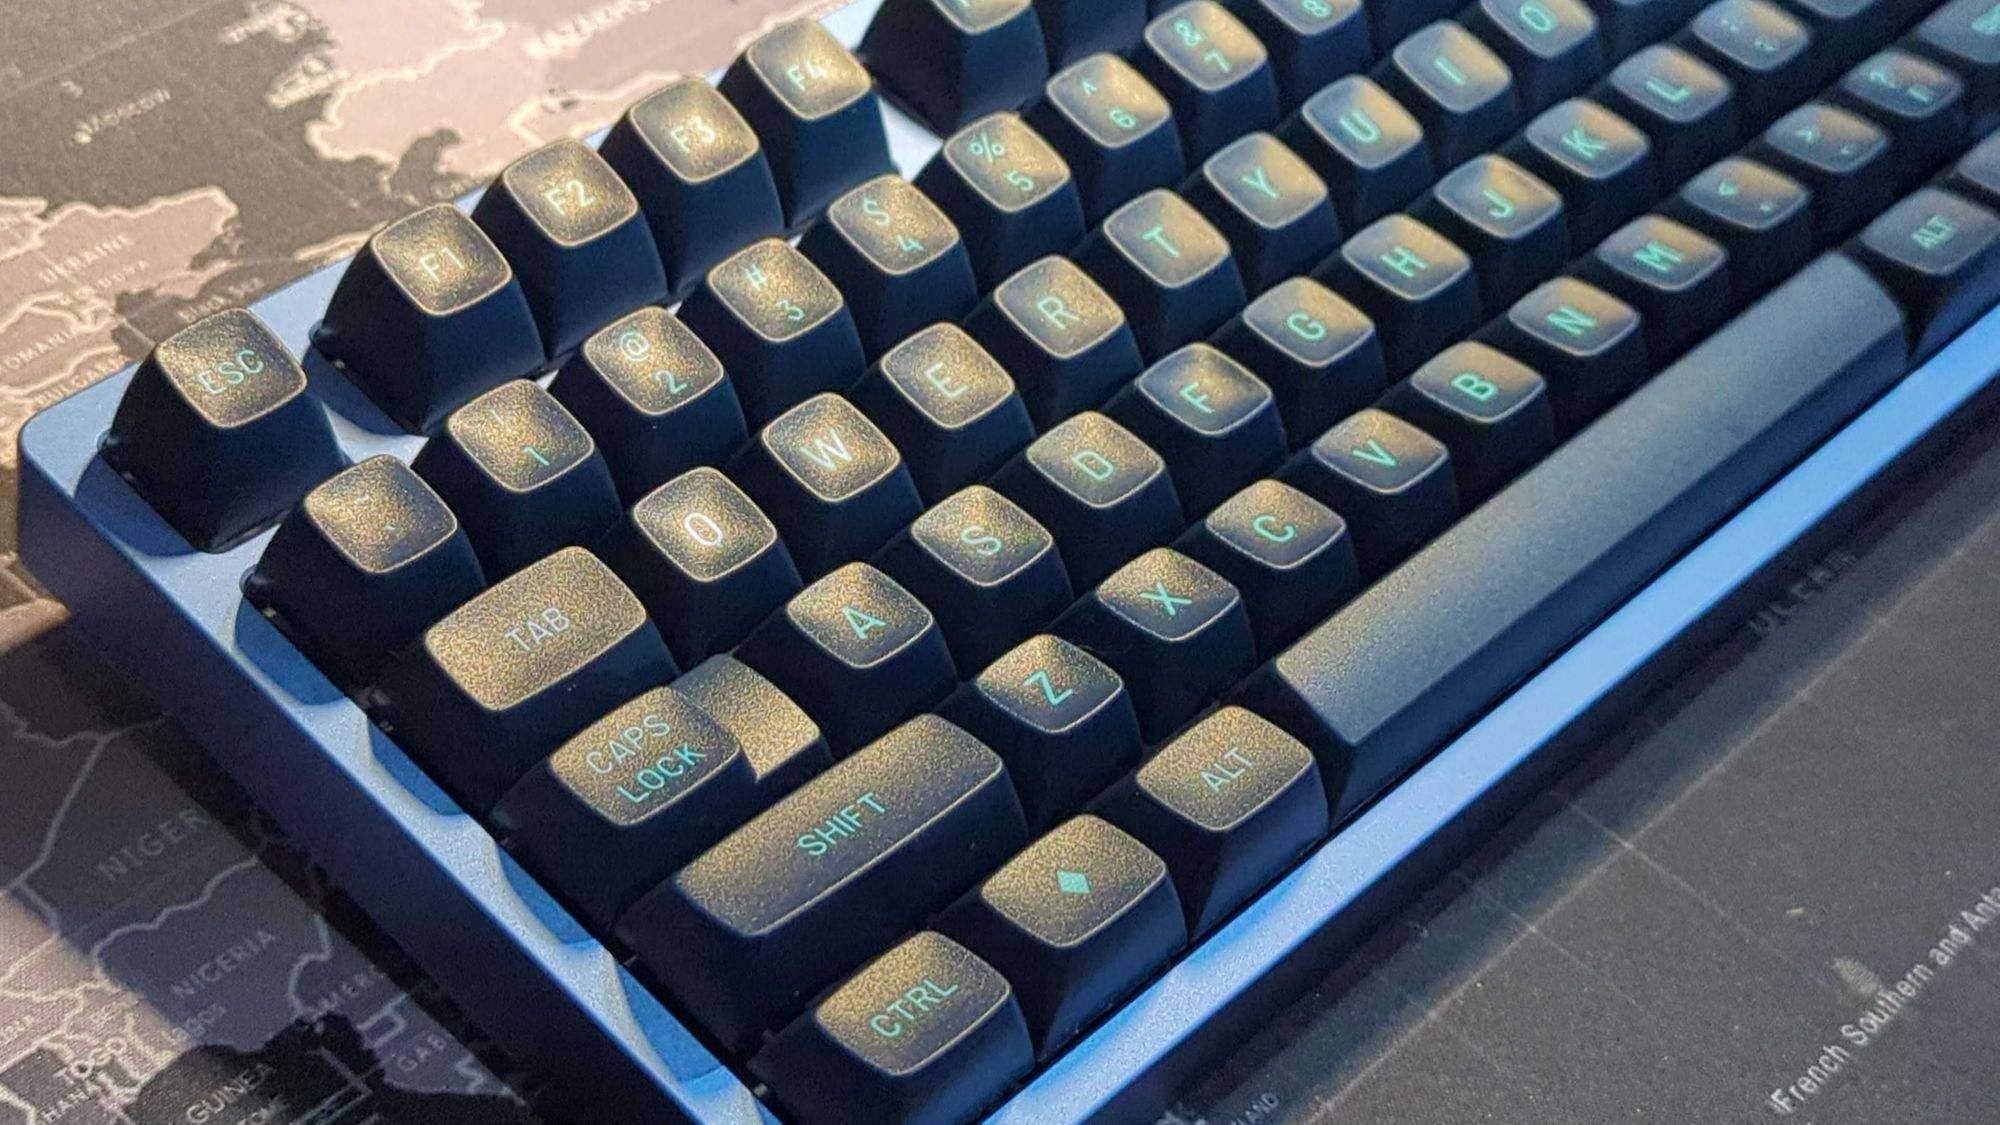
Opening the box we find a plethora of baggies each with the different parts needed to build this lovely kit. The build I chose consists of a deep blue top, black bottom case, blue PVD weight, wired non-flexcut PCB, and an aluminum plate. I also have the knob which I will be installing in another video, as I plan to come back and mod it in the near future.
After inspecting the case components, I was unable to find a single mar; I feel comfortable in saying that this kit has excellent craftsmanship, especially considering the price. To be honest, I was expecting the other shoe to fall, but it never did. Minus one small issue I encountered, which we will get to shortly, I have no complaints about the MKC75; it’s truly a great keyboard kit at an affordable price, that offers such a breath of customization that I think the majority of users would be able to find at least one combination that fits their preferences if not perfectly, then as close to it as possible.
So to get this build started, I open up it up by unscrewing the eight bolts holding the two halves together. Once opened I go ahead and install the six poron case strips that work as a force break mod, preventing the halves from striking each other with each keystroke. Afterwards, I went ahead and installed the four domed adhesive rubber feet to the bottom half.
For the first iteration, I chose to go with a plateless build, so after installing a set of Akko screw in stabilizers, I opened the bag that contained the gasket silicone columns, and installed ten of them to the PCB, sliding the notch that is in the center of each column into the half moon openings around the edges of the PCB. Now, for all of the iterative builds, I did use poron case sheet, as I know how metallic aluminum cases can get, and am just setting a base sound with as unneeded metallic tones.
With the gaskets mounted, I place the PCB vertically over the back edge of the case, centering it to easily plug in the JST connector. Now there has been some feedback regarding the placement of the connector which could lead to issues if it remained this way, but they have moved and redesigned the JST connector, so release units will not exhibit the issues I encountered, one being the cable curling below the PCB, forcing me to use a spudger to flatten it out.
For these first iterations, I chose original Kailh Creams as the switches. This set has been lubed and broken in on a 3D printed switch break-in machine for approximately 480,000 cycles; they are extremely smooth, and sound almost silky to my ear. Though I did replace the switches and keycaps for the final sound test I have to share at the ends of the video.
Once I checked that the stabilizers were working as expected, despite a slight tick on the space bar, which I intend to replace when I come back to this kit, I proceeded to install the switches on the PCB. Once fully loaded, I position the PCB, connect the daughterboard’s JST connector, and align the columns with their respective spots on the bottom half. Carefully installing the top half, I gently flip it over to screw it back together.
Once assembled, I decided to go with a set of YongQiu white on blue ABS keycaps, as they are fully doubleshot, with a 1.5 mm thickness and excellent kitting.
Happy with the build, I recorded a sound test.
For the next iteration, the only change was the inclusion of the iPXE PCB sheet, though during the process of unplugging the JST connector, I noticed a slight crack and when I pulled the connector, part of the plastic from the connector on the PCB broke off. In my opinion, this is partly due to the placement of the JST connector, which thankfully MKC has already addressed for the final build. Thankfully, the broken piece did not affect the connector working and staying connected, so I could continue with my iterations. Once I had the PCB sheet installed, I recorded another sound test.
For the next round, I decided to go ahead and incorporate the plate but doing a top mount, a rarely used mounting style, that I actually have a fondness for. The kit includes both screws and spacers for attaching the plate to the top half of the case, in this case I decided to forgo the spacers and luckily enough this did not affect the tolerances to a point that would affect the installation of the switches. With the top mount in place, I recorded another sound test.
For the final iteration in this video, I decided to go with the most popular mounting style, the reliable gasket mount. Removing the plate from the top case, I installed the gasket socks to each of the tabs of the aluminum plate. I also added the plate/PCB foam layer, before installing the plate, and reinstalling the switches and the keys, once finished, it was time for another sound test.
So for a final change of pace, instead of changing out foams or mounting styles, I decided to just pick some different switches and keycaps and see how different they sounded in a fully foamed gasket mount, so I chose a set of MMD Princess Tactile, 60g switches, and MT3 Dusk, one of my favorite keycaps profiles. And of course, I also recorded a sound test.
It’s too early for me too say which of these combinations is my favorite, though I liked them all in one respect or another, but I can say that there is a distinct difference in sound and feel between all of the different combinations, making this almost like a multiple keyboard in one kit. Almost beyond a custom keyboard, but a truly bespoke one.
Out of the hundreds of keyboards I have now built and reviewed, this one is a true stand out that I know I will be coming back to on several occasions, trying as many combinations as possible to find my perfect fit.
Thank you viewer for joining me today to build and sound test the prototype of this highly anticipated kit, that I would hardly be surprised if it does not end up being crowned one of the best keyboards of the year, budget or otherwise.
Purchase link on KFA: https://keebsforall.com/products/mkc75-keyboard-by-mykeyclub
Use code for 5% discount: MECHKEYBOARDS
Keep Calm and Keyboard On!